How does a custom wooden puzzle order work, step by step?
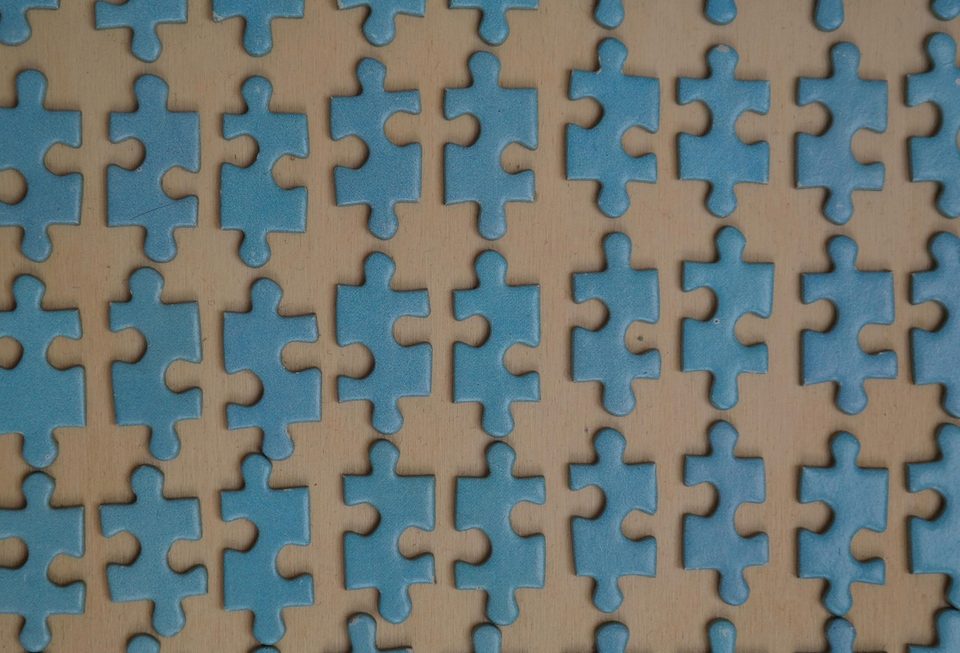
Ordering a custom wooden puzzle involves several stages. This article explains the flow in order, from the preparation needed before ordering through design draft confirmation to wood selection and cutting. Knowing what to prepare and what to check at each stage will help you get the puzzle you want more accurately.
Author WoodCraft Puzzle Editorial Team Published 7 min read
Materials and Information to Prepare Before Ordering
Before starting a wooden puzzle order, it is best to first picture the finished product concretely. The required information varies depending on whether the puzzle is for children, adults, or as a gift or corporate souvenir. Once the purpose is set, organizing the size, piece count, and a rough image of the finished result together will make communication much faster.
If you have images or designs to use, it is advisable to check their resolution and file format in advance. Blurry photos can lose sharpness during laser cutting, so preparing original files is the safer option. If you plan to include letters or a logo, writing down the spelling and placement will help reduce mistakes.
Finally, it's also important to decide the direction of the finished product you'd like to receive. It helps to think about the color tone you want and whether you prefer a natural look that shows off the grain of the wood. Having this basic information in place will reduce the number of revisions at the design proof stage and bring the result closer to what you have in mind.
How to Confirm Your Design Proof
The design proof is the most important checkpoint in the ordering process. Please review the proof the maker sends you carefully and check the layout of the pieces, whether the image is cropped, and the position of the lettering one by one. The design on screen can look different from how it appears once engraved on real wood, so keep this in mind when making your decision.
When reviewing the proof, also look at where the boundaries between the pieces fall. If a face or an important word crosses a piece boundary, assembling the puzzle can be fun, but the content may be hard to make out once it's finished. If needed, you can ask for the boundary lines to be adjusted.
Once the design proof is confirmed, it becomes the standard for every step that follows. For that reason, it's safest to ask about and settle even the smallest details at the final check. Confirmed proofs are often difficult to change later, so we recommend approving them with care.
- Check the image resolution and file format
- Check that the piece boundaries don't split key scenes
- Write the spelling and placement of lettering precisely
- Allow for color differences between screen and physical product
- Organize revision requests before final approval
Selecting and Cutting the Wood
Once the design proof is confirmed, the next step is choosing the wood for the puzzle and cutting it to a suitable size. The texture and thickness of the finished piece vary with the type of wood, so it's important to choose material that suits the purpose of the finished product. More detailed information about materials is available in a separate article.
In the cutting stage, the wood is first sliced into boards of consistent thickness and size. Arranging the boards with the direction of the grain and the position of any knots in mind helps achieve a well-balanced look once finished. Keep in mind that even boards from the same tree can vary slightly in color.
Before moving on to laser cutting, the cut boards are inspected once more for surface condition. The usual practice is to set aside any boards with cracks or excessive warping and use only those in even condition. This process helps ensure a high-quality puzzle whose pieces fit together precisely.
Creating the Pieces with Laser Cutting
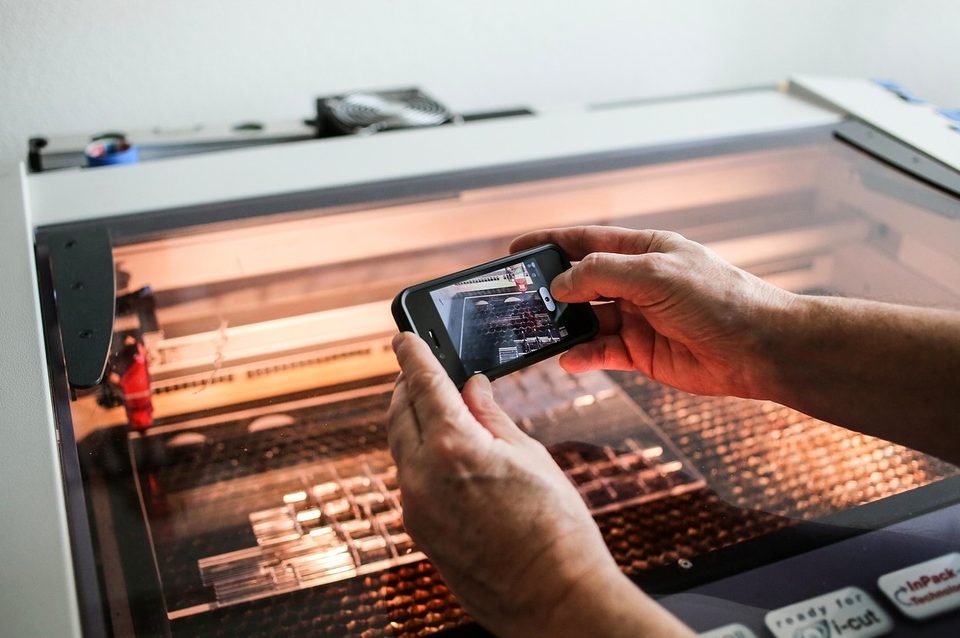
In the laser cutting stage, the confirmed design file is transferred to the cutting machine, and the outline of each piece is precisely marked onto the wooden board. The machine follows the lines in the design and cuts through the wood by slightly burning it, so the gaps between pieces and the shape of the edges are reproduced almost exactly as in the proof. Adding a number or orientation mark to each piece makes assembly much easier later. Cutting speed and power must be adjusted to the thickness and grain of the wood; if the settings are wrong, the edges may turn black or the pieces may not separate fully.
Because the laser removes wood with heat from light rather than touching it with a physical blade, small projections and intricate curves can be preserved cleanly. However, even on the same board, knots and resin pockets react to heat differently, so it's a good idea to check the condition of the board again before cutting. Smaller pieces have a proportionally larger burned area, so setting a minimum piece size at the proof stage improves the quality of the result. Once cutting is finished, the pieces are best left in place rather than removed right away, and any residue is brushed off while they remain secured.
When checking the cut results, first confirm that the number of pieces on the whole board matches the design and that no parts are missing or still connected. Then gently push each piece to see whether it separates cleanly and whether the interlocking edges are neither too tight nor too loose. Problems found at this stage should be corrected before finishing, which reduces rework later. Once checked, the pieces are sorted by number and passed on to the next step.
- Confirm that the design file and cutting machine settings match
- Adjust the power output to suit the wood's thickness and grain
- Check the heat response of knot and resin areas
- Add piece numbers and orientation marks
- Final check of piece count and fit
Finishing and quality check process
In the finishing stage, the scorched edges left by cutting are gently smoothed with fine sandpaper, and dust and residue are wiped from the surface. To protect the wood, a thin coat of food-safe natural oil or an eco-friendly paint is commonly applied. Paint is better applied in several thin layers rather than one thick coat, which preserves the wood grain and keeps drying time consistent. For puzzles meant for children, it is especially important to choose finishes carefully, paying attention to their ingredients and smell.
Quality checks are carried out on all pieces after finishing, inspecting each one for scratches, color stains, and chipped corners. For custom puzzles, it is also important to confirm that the image and piece layout match what the customer expected. Pieces should be compared against the finished picture to see whether they fit together naturally and whether the colors differ noticeably from the approved design. Setting the inspection criteria in advance keeps the evaluation consistent and objective.
Pieces that fail inspection should, as a rule, be refinished or replaced, and it is also good practice to record the cause and take it into account in future production. Packaging should only begin once the finish is fully dry, so the surface is not damaged. Careful finishing and inspection like this lay the groundwork for a finished product that can be enjoyed for a long time in everyday use.
Packaging and delivery
During packaging, the finished pieces are wrapped in shock-absorbing cushioning and secured so they do not move inside the box. Wooden pieces can easily be dented or scratched at the corners, so placing paper or thin protective sheets between pieces is an effective way to reduce friction. Including an information sheet in the box with the puzzle name, piece count, and assembly orientation helps the recipient assemble it with ease. For gift orders, the presentation makes a strong first impression, so it is worth paying attention to the finishing touches.
During delivery, it is important to confirm the shipping method and expected timeframe when placing the order. Actual timing can vary depending on the region, order volume, and the courier's schedule, so planning with some margin can reduce inconvenience. After receiving the order, check the condition of the box and the piece count right away, and if anything is wrong, report it promptly with photos. The clearer the confirmation process, the fewer misunderstandings there will be between both parties.
Storage conditions also matter once the finished puzzle is received. Avoiding direct sunlight and high humidity, and keeping the puzzle flat in a dry place, helps prevent the wood from warping or the colors from fading. Understanding the full flow from packaging and delivery through to storage allows you to appreciate the entire wooden puzzle production process with greater confidence.
Key takeaways
-
Laser cutting inspection Checking the design match and wood condition before and after cutting greatly reduces the need for rework.
-
Finish and quality standards Thinly applied finish coats and predetermined inspection criteria raise the level of completeness.
-
Packaging and storage Deliver with cushioning and an information sheet, and store in a dry, flat place.
This article provides general information and does not replace professional advice.